
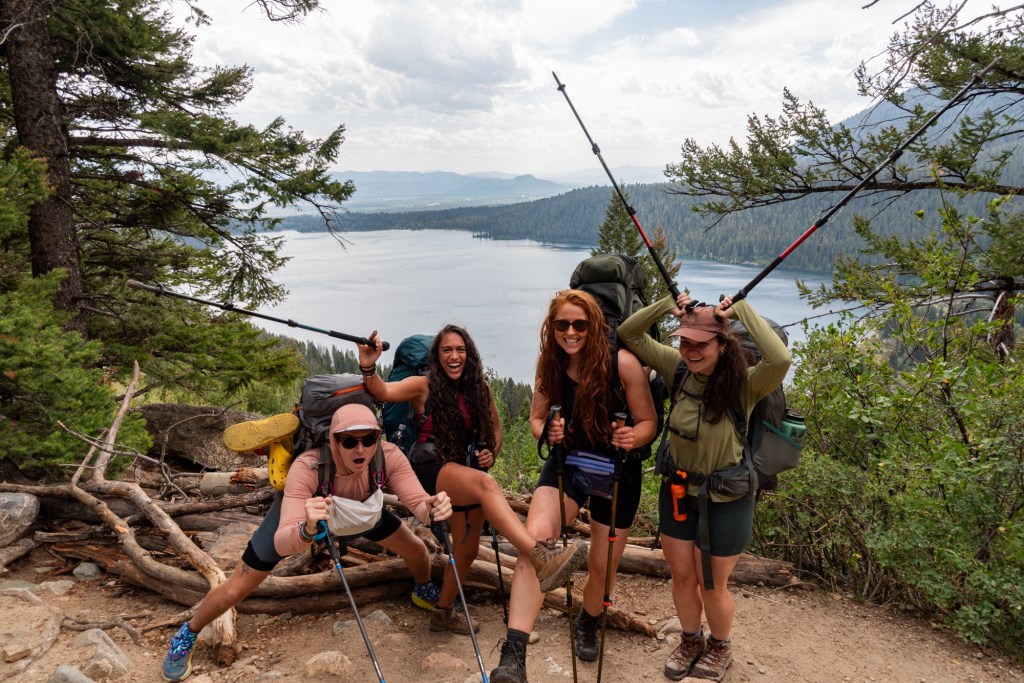
One of the few backpacking trips that I’ve done where I have seen wildlife at almost every turn. A truly amazing trail, that allows for a gentle step into the backcountry, without being fully submerged. The trail starts out in the front country for the first day, depending on where you start and how many days you wish to do. However, if you would like to experience only the backcountry in all its glory, you can cut the loop into a C shape that matches your needs.
Overview
Mileage: 56.3 miles
Elevation Gain: 11,092 ft
Time Required: 5 days and 4 nights but can be done as quick as 4 days and 3 nights
Permit: First come first serve via Recreation.gov that usually drop early January
Parking Pass: American the Beautiful
Food: All food must be carried in a bear canister. Do note that you can rent these at the ranger station Make sure to call prior to arrival to ensure they have enough at hand.
Itinerary Planner: NPS.gov
Trail Maps: AllTrails with a membership to access offline maps (use drewadventures30 for 30% off)
Permits
You will need to first start by obtaining a camping itinerary through Recreation.gov. I highly recommend you do this the moment campsites open up for booking due to how fast they sell out! However, more importantly you need to have picked out what campsites you want to stay at beforehad. This will speed up the booking process so that you don’t miss out on a camp site due to speed on bookings day. At this time, you will also need to know the number of people you wish to be in your group and what exact days you wish to go.
If you missed the drop date or aren’t as quick as you would have liked. You will likely need to do the trip in 4 days and 3 nights. My trip was build this way due to also booking a summit of the grand at the end. However, there are walk-up permits available through the backcountry office in the park, that can be secured no sooner than 1 day before the start of your trip.
Keep in mind when booking that a maximum individual site consist of up to 6 people. If you have a party between 7-12, you will need to camp at designated group campsites. This will limit your options significantly. The maximum stay per location is two nights, except for Jackson lake, which allows for up to 3 nights. Every person is on a hard limit of no more than 10 nights per season and no more than 30 nights per year.
Building an Itinerary
This is one of the easiest parts about doing the Grand Tetons. This depends on where you would like to stay, how many people are in your group, and how many miles/gain you are willing to tackle per day.
When starting your planning, I would highly recommend using the map that is on the NPS.gov website. I have included this same map below with my own additions.
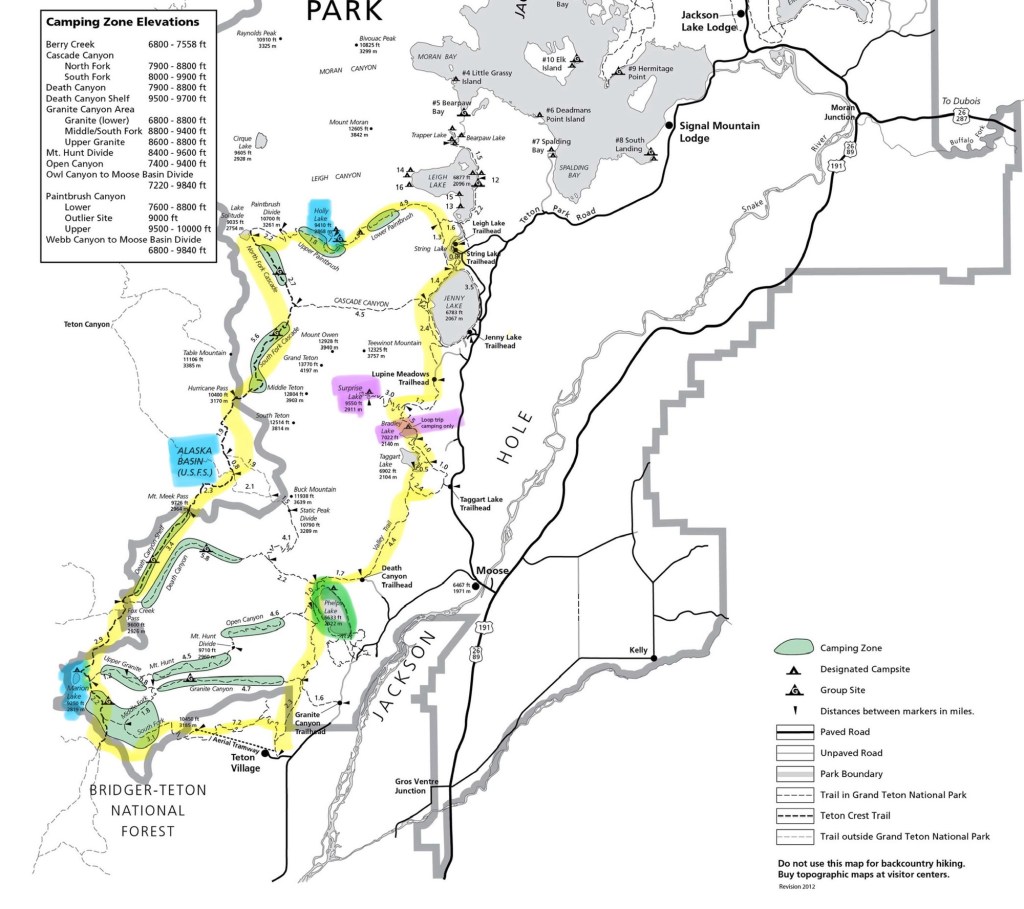
I highly advise not starting this trail before late June, and ideally not until August. The front country (Jenny lake to around South Fork area) is snow free in early June. However, from Marion lake and through lower paintbrush, you will be post holing through hard crusted snow that is about mid calf deep. The trail will be impossibly hard to find and you will be looking at AllTrails more than you will the views. August is the perfect time to go because it avoids the snow and the mosquito season.
Packing
Packing for a multi-night trip can be difficult. So, below is what I would heavily recommend as musts for your trip.
First, there are bears in the backcountry. This means that you will need either a bear canister for your food to be stored in overnight. There are no bear pools around so as of now bear sacks aren’t allowed. Though it is recommended to bring bear spray with you, I’d say one to two per group is more than enough.
Second, the biggest mistake you can make is not bringing an adequate water filtration system. You should not have to carry more than a liter of water with you at any given time. This is vital if you wish to keep weight down. In terms of water filtration systems, I can’t recommend the BeFree water filtration more. This is easy to use and allows you to fill up either your bladder, cooking pot, plastic bottle, or so forth with ease. If you are more set on using a bladder for your adventures, then I recommend buying a Sawyer water filtration system. You can cut the straw of your bladder and place the Sawyer directly between the cut straw pieces. This will filter your water out as you drink it. The only downside of this, is the water that comes directly from the bladder, not the straw, will not be filtered. So, it can take longer for you to get water for cooking, unless you can boil it.
Third, let’s talk clothes. Now, make sure that you check the weather report before you start your adventure. Though I recommend you bring a warm layer, such as long pants and a down coat, I wouldn’t necessarily say you need to go all out if it’s late august. We were plenty warm during the day, however, at night we were freezing! Finally, don’t over pack clothes! Remember extra clothes are luxury items. You will be able to wash most clothes in lakes along the way, so only bring what you need. I consider one pair of underwear per day my luxury item. For an 4-day trip, I packed the following:
Top Layers
Raincoat
Down jacket
Patagonia fleece or second down jack for a double puff
Bottom Layers
1 long pair of hiking pants (or leggings)
1 pair of long thick socks for camp
1 base layer top and bottom to help with the cold
Hiking Clothes
1 top
1 pair of shorts
Miscellaneous Clothes
2 pairs of hiking socks
4-5 pairs of underwear
1 swimsuit
***This included the clothes I wore to start

Leave a comment